[Olympus Pen E-PL7]
Instagram has quickly become one of the biggest forms of self expression. Each feed is basically a visual compilation of that person’s life. Whether you are a blogger or not, you are most likely using Instagram to share photos of you, things you enjoy, places you go, etc. to express your interests and give people the opportunity to know more about you. Through blogging and social media, I’ve really grown to love photography and I enjoy the challenge of getting more creative with my shots. I am not a photographer or a pro at editing, but I’m learning more about my cameras every day and I love tapping into this side of me. To me it’s not about having this perfectly curated feed because let’s face it, life is not perfect and neither am I. It’s messy and unfiltered. However, I do put much more thought into the things that I post now and I do my best to keep an overall consistency and aesthetic that is a direct reflection of me and my life. If someone never meets me in person, then all they know of me are the images that I post. It’s sort of like the first impression that someone gets of you.
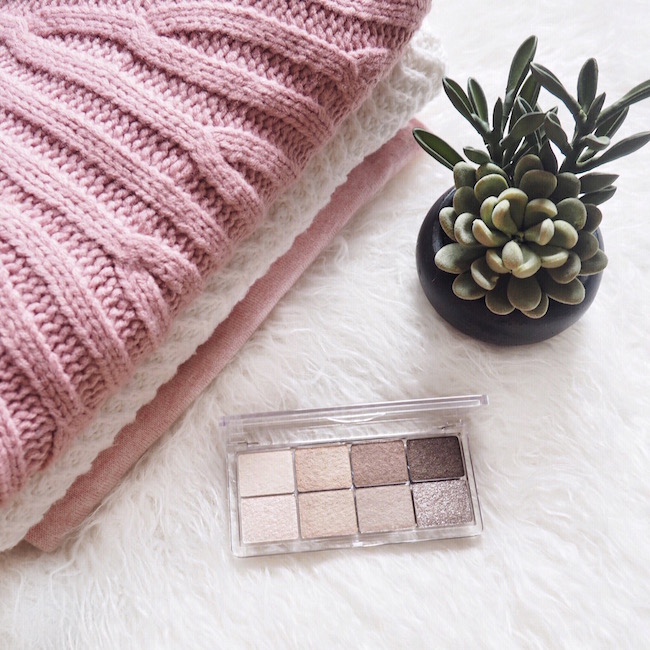
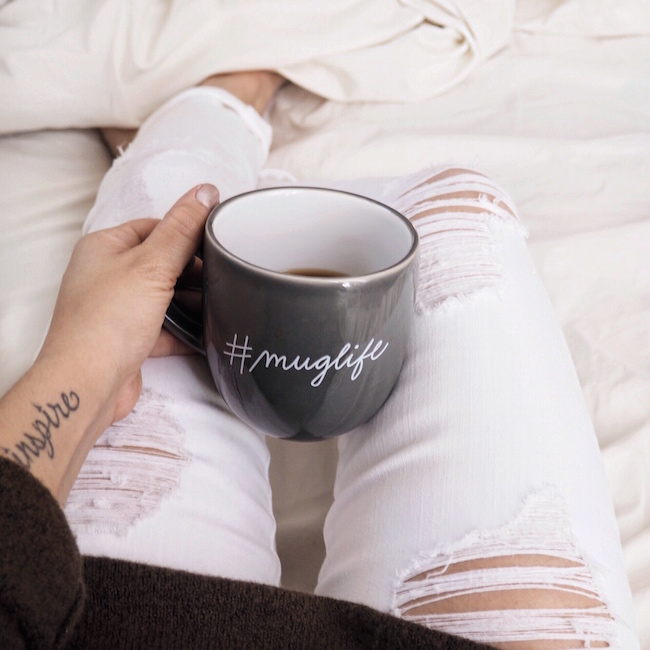
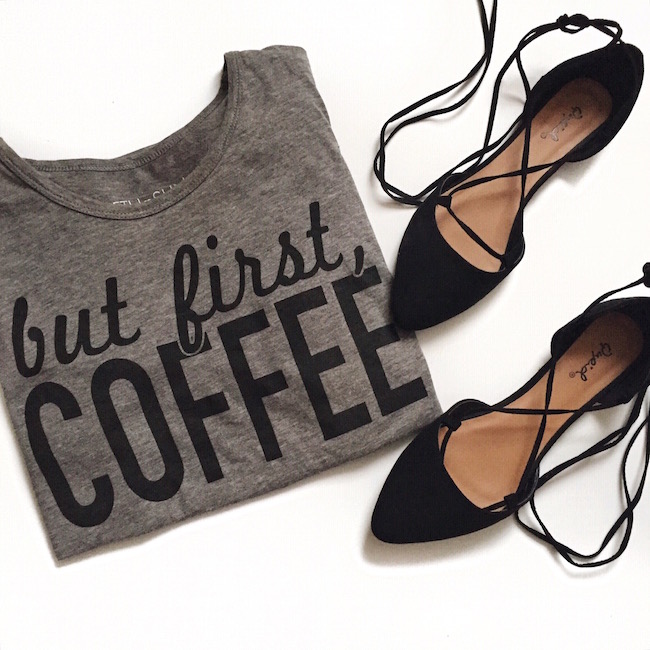
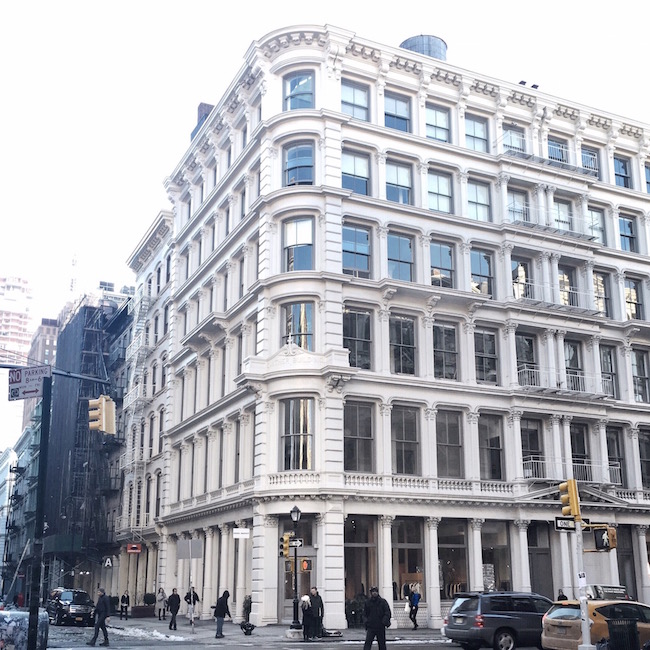
I try to keep my photos clean and bright with lots of white backgrounds, but also plenty of color. Variety is a very important factor to me. I honestly never used to put much thought into the things that I posted. I used to post so much of myself, but then I was like ahhh enough of me already. Maybe I’m weird, but I don’t like to have more than 2-3 images of myself back to back. I just think that visually it’s more appealing to the eye when there’s a good mix and I don’t want to always only show myself. I love posting flat lays, scenic shots, quotes, food, my pups and other fun images. It’s hard to come across never before seen content on Instagram when there’s millions of people using it each day, so I do my best to come up with ideas that I love and add my own personal spin to them. I’ve switched up my feed many times and typically never really loved it until recently. After much trial and error, I think I’ve just figured out what works best for me. In no way is my feed the best and it might not even be your cup of tea, but regardless I wanted to share some of my own personal tips & tricks for shooting and editing the images that I post. It’s become part of my daily routine and I actually enjoy it very much. I hope this post can be helpful to you in some way.
[Shot with Olympus Pen E-PL7/white poster board]
I do not live in an all white house with tremendous amounts of natural light. In fact, it’s literally the complete opposite. Because of this, taking photos inside was always a challenge to me. I knew that there had to be ways to make it work and I was right. I get the best and most natural light coming in from my bedroom window. All of my flat lays are done right on my bedroom floor or on my bed. I prefer bright and white backgrounds as mentioned above and I like to mix up the texture. I typically shoot on my fuzzy rugs, sheets, comforter, marble cutting board and even white poster board! The white poster board is a secret that my friend told me about. It’s been a life saver. I play around with placement and objects that speak to me in that moment. Sometimes I’ll have ideas a few days in advance other times I just sort of go with what I’m feeling that day.
Recently, the majority of my IG photos have been shot with my Olympus Pen E-PL7 and factory lens in manual mode. I’m going to upgrade the lens soon to either a 25mm or a 17mm, but as of now it’s been doing the trick. My photos are coming out much clearer and sharper than my iPhone6, but I still use my iPhone from time to time as well. It still takes great shots. I initially bought the Olympus as my new travel camera, but I found that it worked perfectly for instagram too and since it’s so small and lightweight I can easily bring it everywhere with me. It has built in WIFI, which is a total game changer, so within seconds I can transfer the images to my phone. You can also change the ratio to 1:1 so that your photos are taken to fit directly into instagram. If by chance you are looking for a camera, then I highly suggest this one. I can even do a separate post on the camera once I learn more if anyone is interested.
[Snapseed]
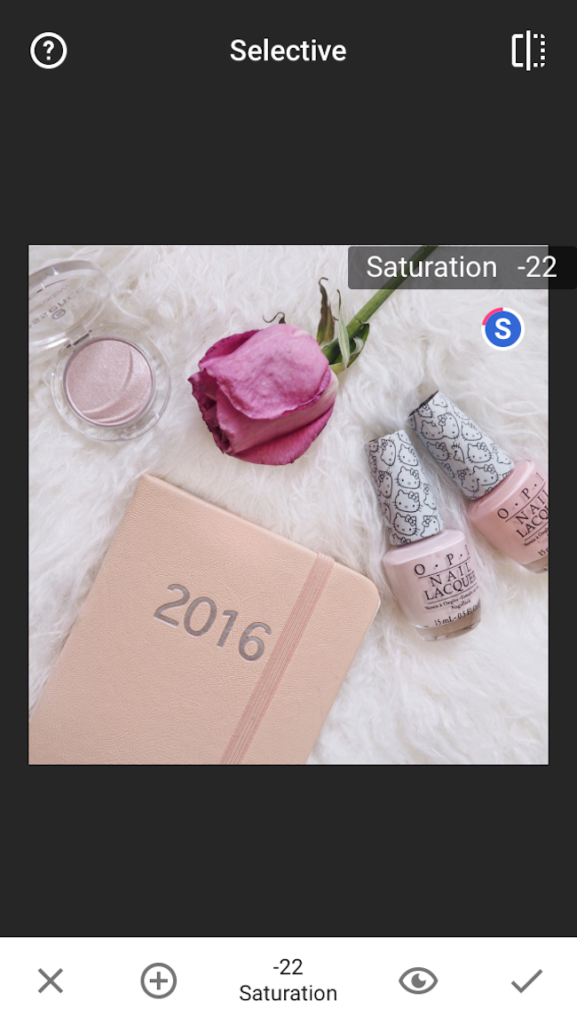
Even when shooting in natural light on a white background, sometimes the original photo can still be a little dark or have too many shadows so this is where the editing comes into play. I switch off between 3 different editing apps: Snapseed, Facetune & VSCO. I love Snapseed because I can easily adjust my light in the photos as a whole and can also edit specific areas of a photo. It’s a pet peeve of mine when a photo has too much yellow or saturation, so I love to turn this down in Snapseed in the areas that need it the most. The selective tool will become your bestie!
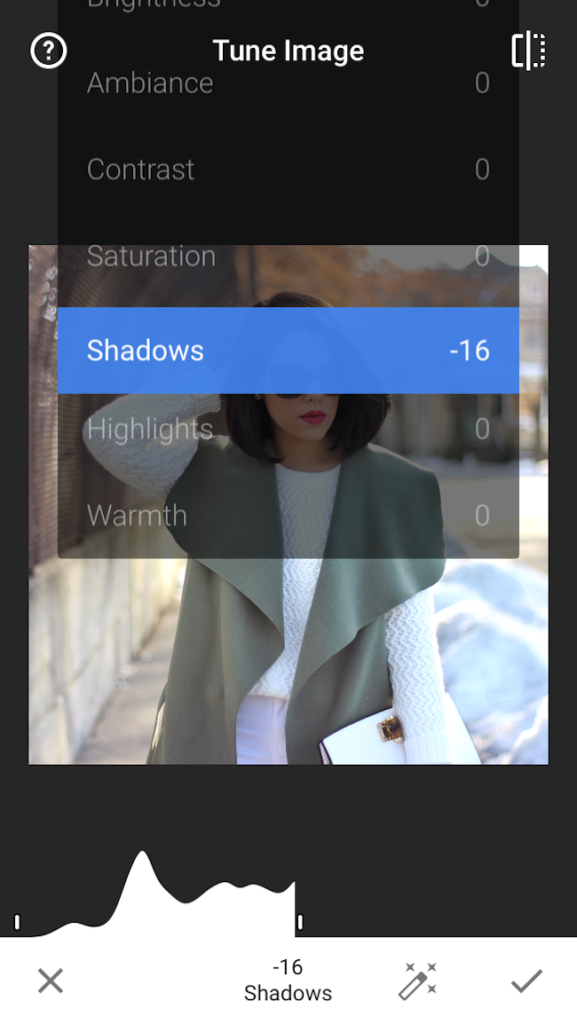
I also love adjusting the shadows. Sometimes a photo might be a bit overexposed and I’ve found that turning down the shadows a little makes a difference. The same thing goes for a photo with dark and shadowy areas. Turning the shadows up helps to brighten up these spots. It has other cool features too. When I first got this app I honestly had no idea how to use it. I just kept playing around with it though until I figured it out.
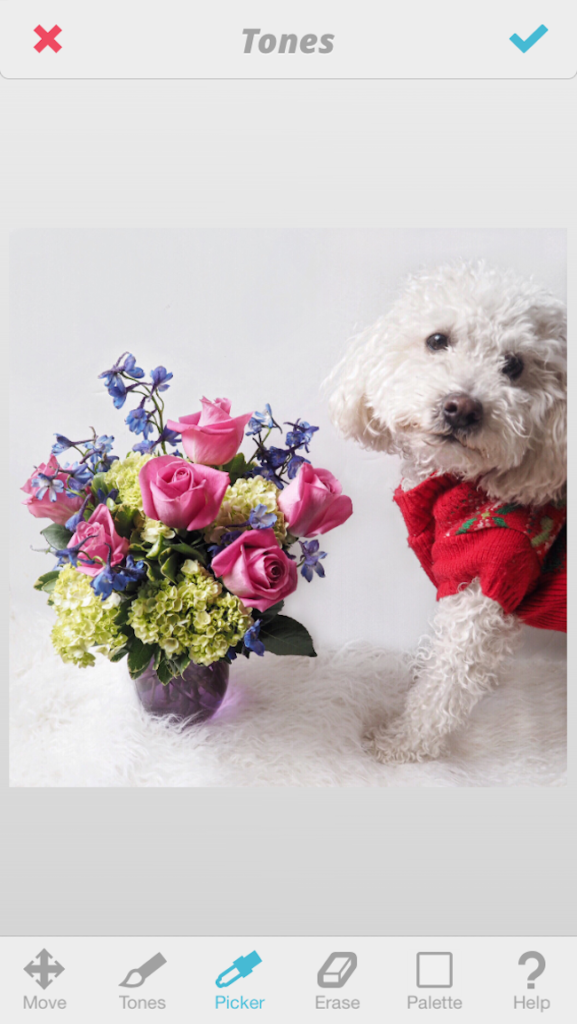
Once my light is adjusted, if needed I’ll open up Facetune. Now let me just say this first. Most people hear of Facetune and immediately think you change your body image. While some may use it for this, there are actually many great editing tools in the app. I love using details and tones. Sometimes an object in the image can be a little out of focus, so adding some detail will help to enhance it. I’m also obsessed with using tones for my white backgrounds. Basically if the color in a photo is uneven, you can make it all the same. It’s literally magic. So let’s say half of my rug is super white and the other half is more grey, I will pick up the white tones and color over the grey so it all matches. You have to be careful though not to overdo it or it can ruin the image. In this particular photo, I actually left the shadows on the right side so that Kiko’s body wouldn’t disappear. I’ve had friends ask me how I get my whites so white and this is how I do it! Sometimes I do prefer more grey though and it’s good to switch it up.
[VSCO]
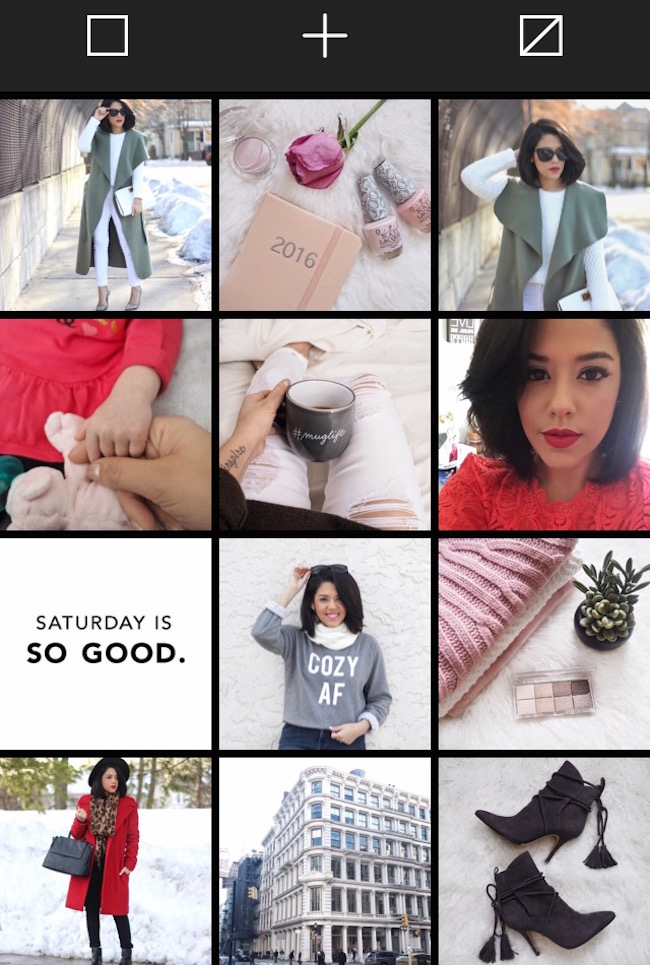
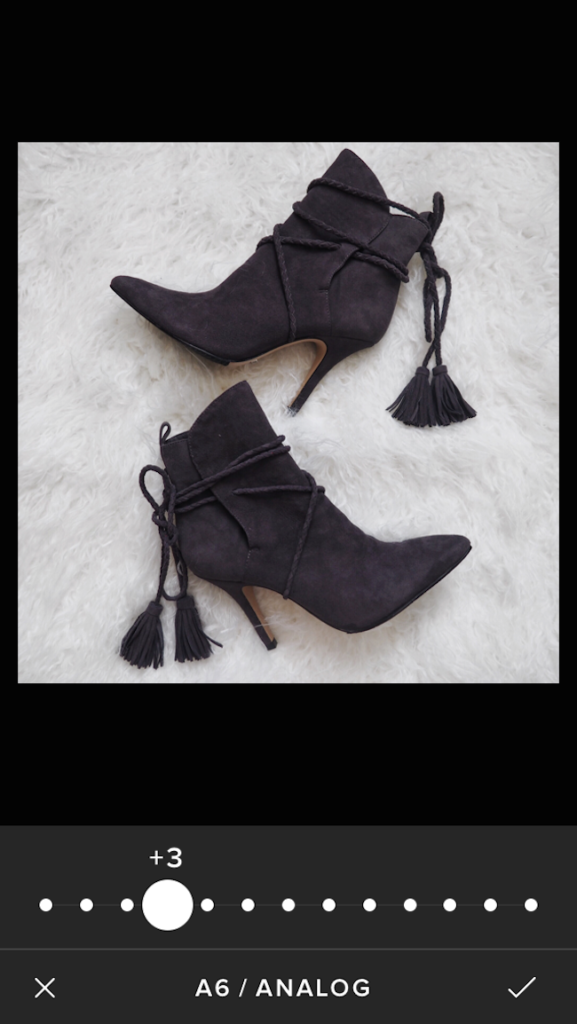
The last app I use is VSCO and it’s also my favorite. You can actually upload your entire feed to it before putting into instagram so that you can see the way each image looks next to one another. You can also use it to adjust light or add the same filter to all of your photos, which is what I have been doing for awhile now. I’ve changed my filters a few times, but right now I am using A6. I only do +2 or +3 though depending on the image. If you add too much then it will ruin the quality of your photo. If I’m in the photos, then I usually only do a +1 or +2. My outfits are shot with my Canon Rebel T3i 50mm 1.8 lens. The cool thing about using the same filter is that it just helps with the overall visual consistency and aesthetic of your feed. Some people prefer to use the same color in all of their photos, like all neutrals or only blush tones, but it’s really hard to make that commitment. Haha. I do try to make each photo somewhat blend or flow into the next one though.
This might seem excessive to some and you might even be thinking, “Ain’t nobody got time for that.” [lol] It works for me though and once I got the hang of it, it doesn’t even take me long to do it. Everything nowadays is visual so I do put thought and time behind each thing that I post. I honestly have fun with this and that’s most important. I stopped caring about the numbers and put more focus into my content. I hope that you found this post helpful, especially if you are looking to give your Instagram feed a refresh. See all my images and follow along here: @natybaby. Thanks for checking this out and if you have any questions feel free to post them below!




Great post! I love your photos on IG! You do a great job 🙂
Tiffany-
http://Simplybeinggreat.net
Thanks so much! I've really been trying to improve and get more creative 🙂
Awesome post! Just like most of your other posts. Please do share more about the Olympus I've been planning on getting it, but I'm not yet sold. Thanks for sharing about your editing apps, I also use a lot of Snapseed and VSCO, I'll definitely try Facetune. I love your blog, your Insta and your filter-free snapchat LOL.
Haha snapchat is too much fun! I've been slacking on it lately but can't wait to share my whole Sweden adventure in a few days! So happy you found this post helpful. I'll definitely do one on the camera soon once I learn a bit more and try out another lens. 🙂 Xo
This is the perfect post for me, I just started Instagram last week and I'm still trying to get the hang of it
I'll be using your tips, thanks so much!
Neeny | Spoon Full Of Yum
Yay that makes me happy! Welcome to the Insta world 😉 Thanks for checking this out!
I just started using VSCO cam H1 on my Insta photos to create an aesthetic .. loved reading your post about it and of course I love your feed!
-Morgan
How 2 Wear It [] http://how2wearit.com
VSCO is so good! So happy you enjoyed the post 🙂
Fun and informative post Naty! It's always nice to hear a little behind the scenes from fellow bloggers.
Xo Ally
http://www.allysoninwonderland.com
It definitely is! Thanks love xo
You made some fine points there. I did a search on the subject and found a good number of persons will go along with your blog. financial advisers