 It’s my first post of 2021! I haven’t shared anything on here since November and I can’t believe how quickly time is passing by. I know that I need to get better at blogging more consistently and that’s definitely a goal for this year. Are there any specific topics that you’d like me to write about? If so, please let me know. Also – did you see that the homepage finally got a design makeover after 4 years?!
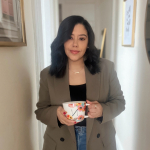
If you have been keeping up with me on Instagram, then you know that I’ve been taking almost all of my own photos since last March when we went into quarantine. It was much easier to shoot alone in my home and I have had to get used to taking photos out in public with a tripod. I’m often asked some questions about this and wanted to create a post dedicated to this topic. There are definitely some tips I can share that have worked for me. Just like with anything, the more you do it the better you get at it!
GET A TRIPOD
Whether you’re shooting with a DSLR or an iPhone, you definitely need to get a tripod to take your own photos. You can certainly improvise in the meantime and look for places to prop up your camera, but a tripod will definitely make the whole picture taking process smoother. This is the tripod that I have specifically for my iPhone, but there’s also a spot where I can put my Olympus Pen camera too. I even got a ring light tripod that I use when shooting inside my apartment since I don’t get that much natural light in my living room area. Both of these have been such a life saver for me when taking my own photos. The tripod that I use goes up to 51″. It’s lightweight and easy to fold up and carry with me.
DOWNLOAD A SELF-TIMER APP
One of the most frequently asked questions I get is if I use a remote. It did come with my tripod, but I downloaded a self-timer app instead and I love it! These are the two that I know of: Photo Timer+ and Lens Buddy. They both give you up to 60 seconds to get ready for the photo. You are able to choose the interval time between each picture and can select how many photos that you want to take at once. The self-timer on the camera only gives you up to 10 seconds, which is not always enough time. It also does a burst of images and I personally prefer to take a set of individual ones at once. Make sure to have the volume up on your phone so you can hear the beeps. I keep one airpod in so that I can easily hear it.
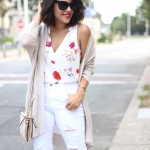
Something to note: You can only shoot a regular photo on these apps and not portrait mode. If you plan to shoot in portrait, then a remote would definitely be best. Otherwise, you’ll be running back and forth like I did for this photo below, ha! If you do use a remote, you can easily hide it in your back pocket or in your jacket if you’re wearing one.
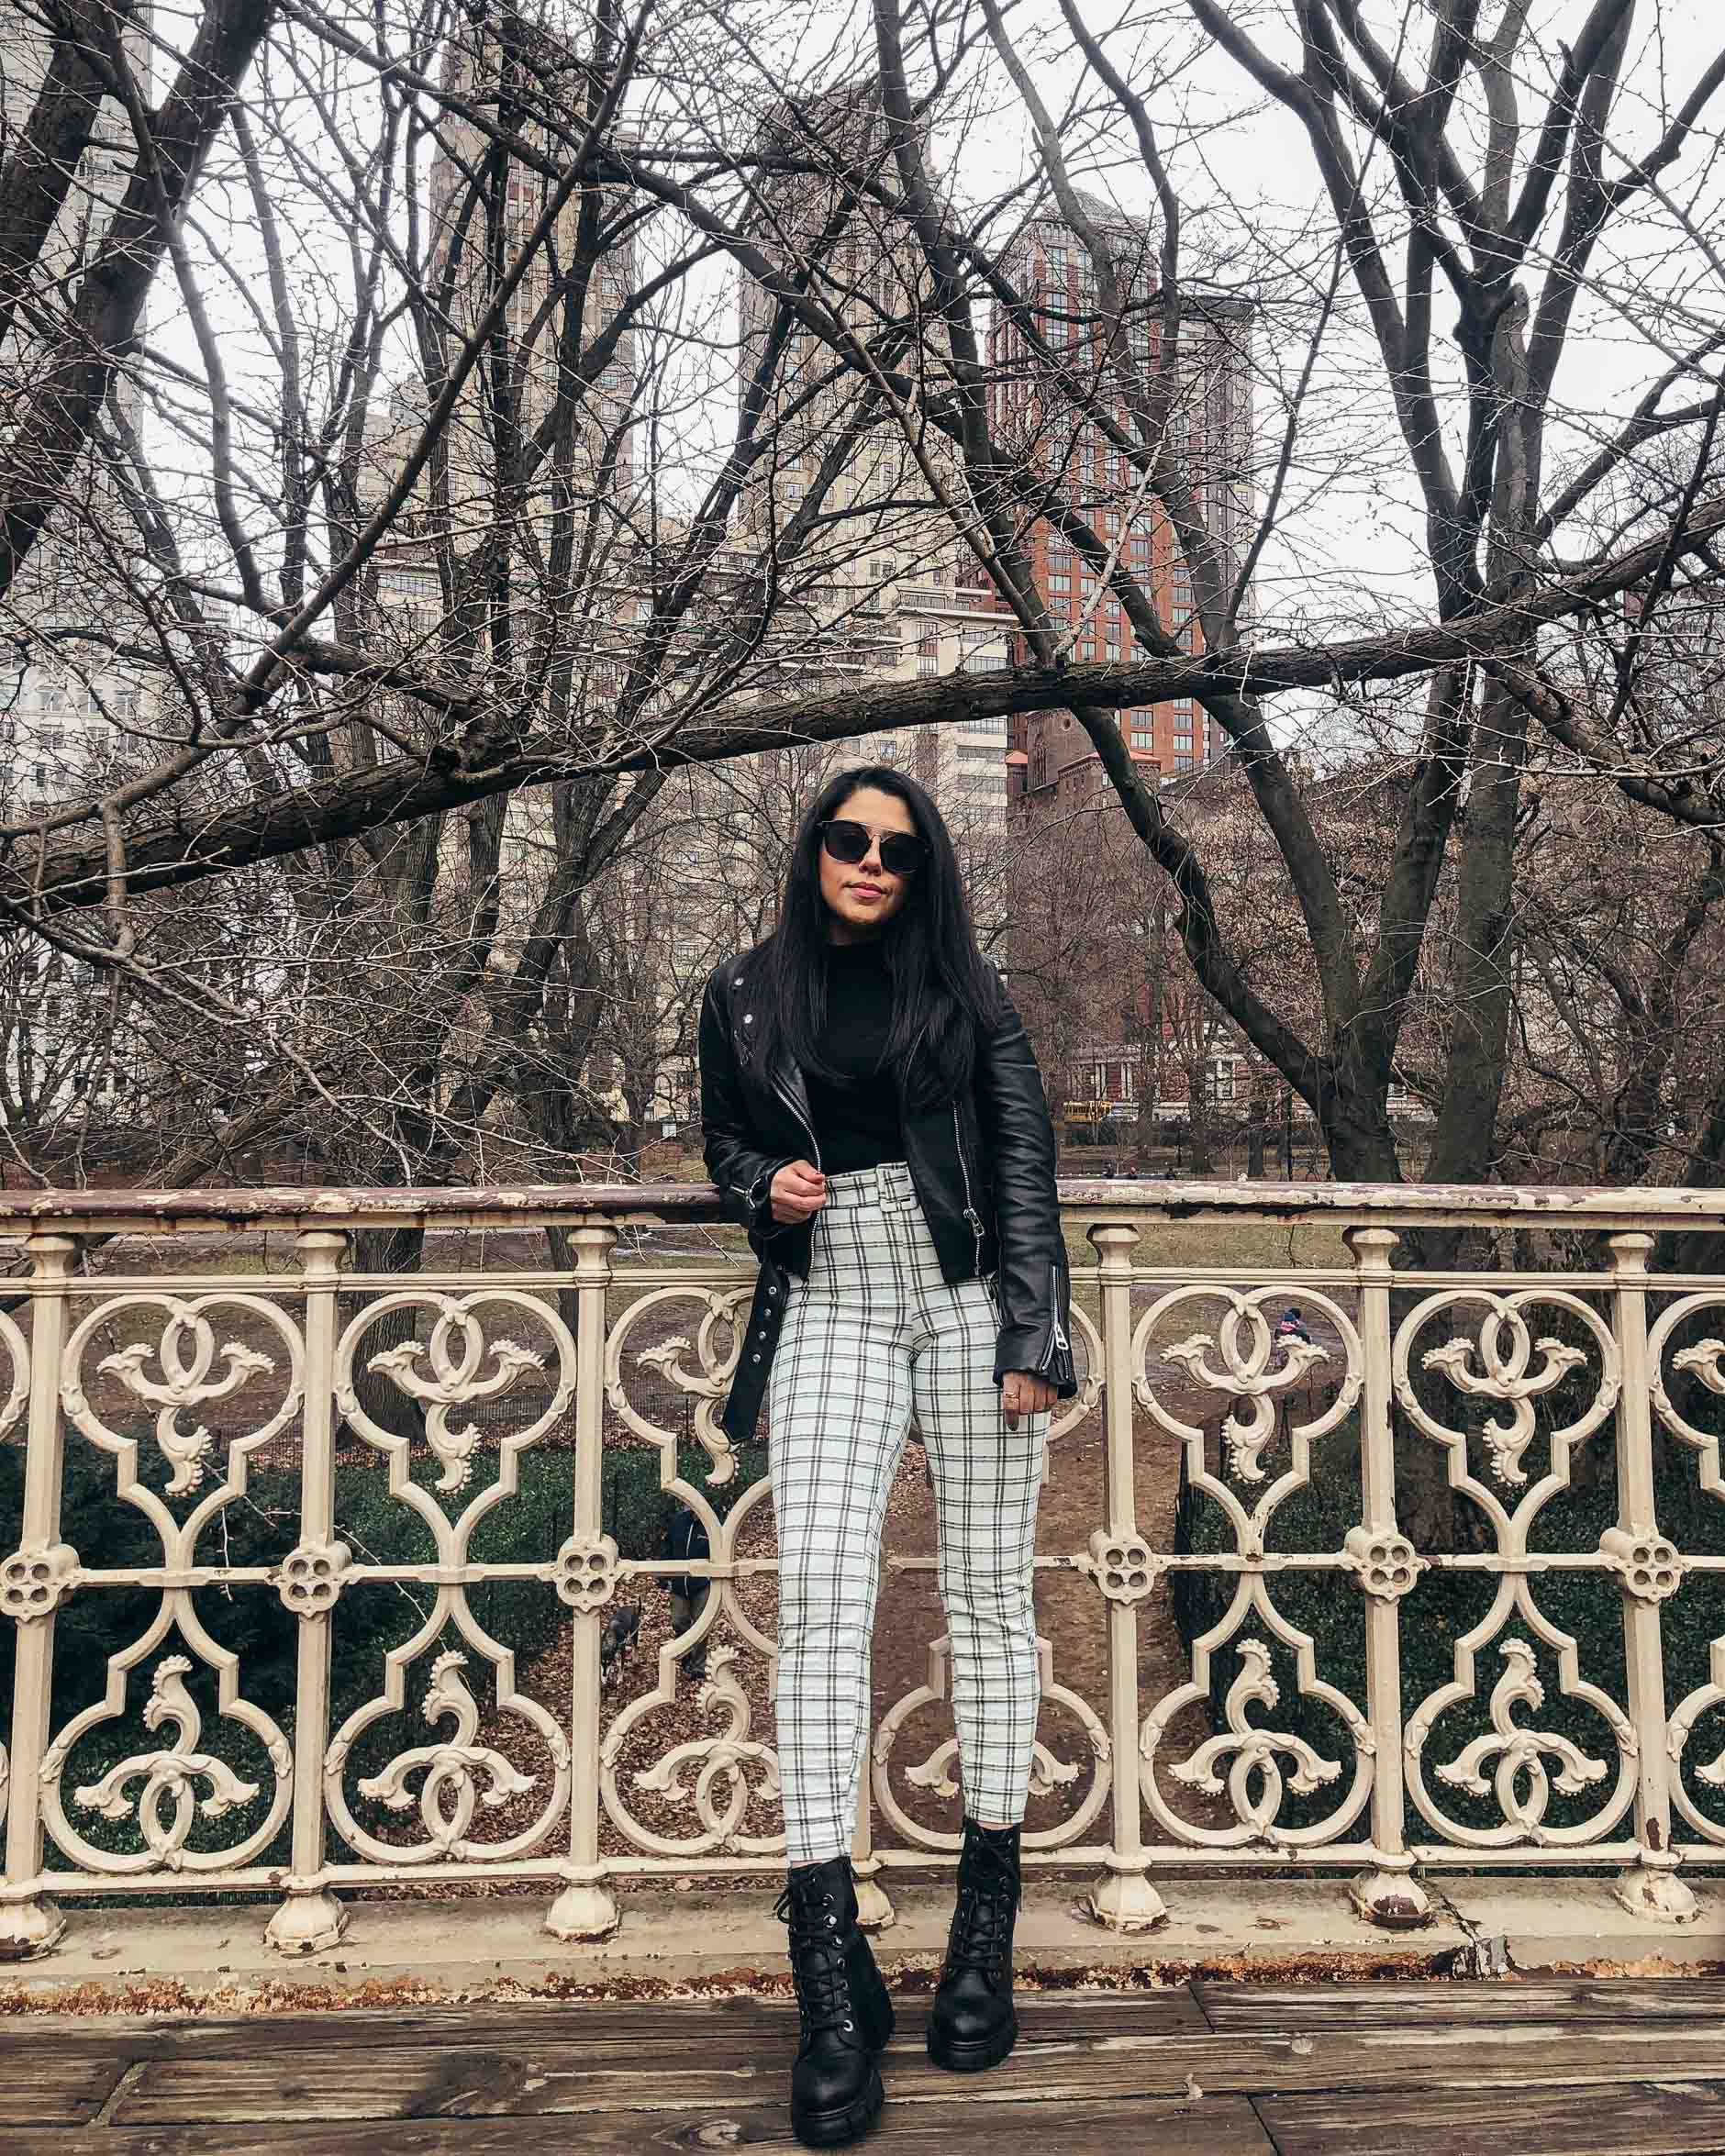
SETTING UP THE SHOT
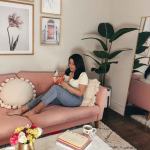
Once I get to the location, I try to visualize the type of images that I want to capture. The most important thing is to first test out the lighting. It’s been easier for me to solely use my iPhone, but the lighting can be tricky sometimes since I’m not able to adjust it the way that I can with a camera.
Once you have the right light and know the backdrop that you want, you then need to frame it. Do a couple of test shots to make sure that your camera and tripod are in the right position. This also lets you know where to stand in the frame. Most times when I am testing things out I end up being completely uncentered in the photo, so this really allows me to figure out exactly where I need to be.
AVOIDING CROWDED PLACES
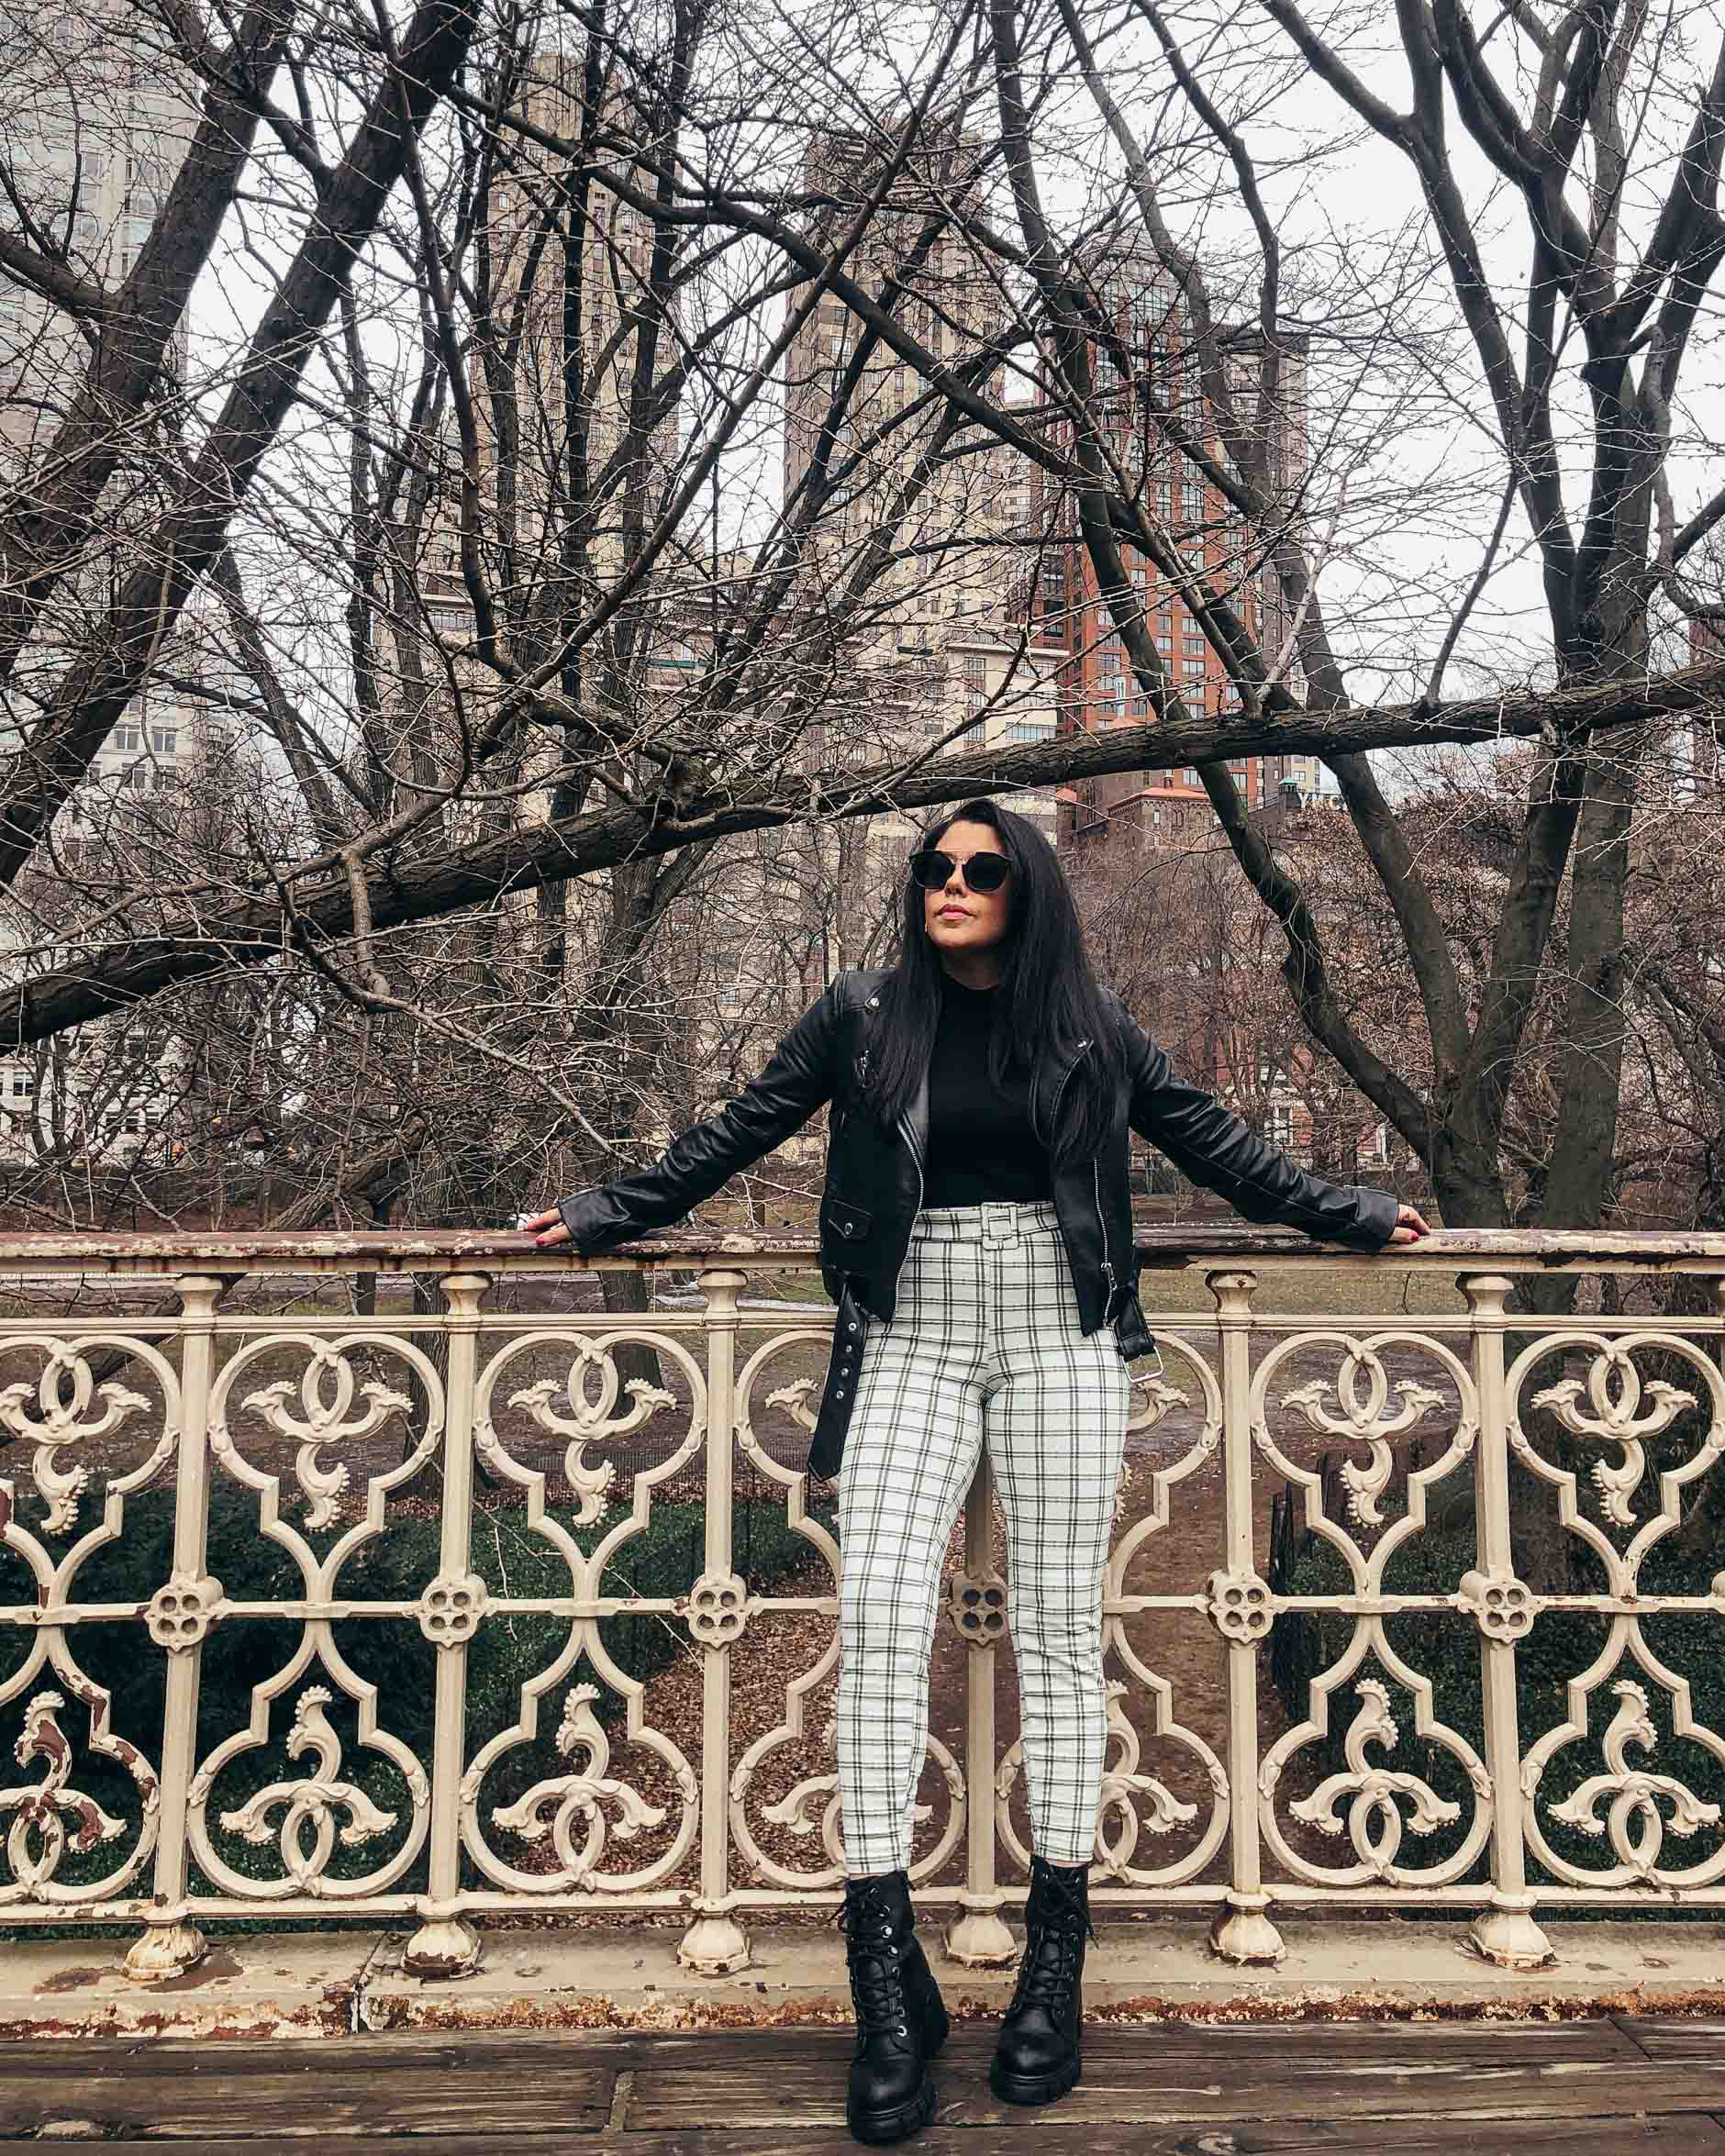
Due to COVID, NYC is definitely not as busy as it used to be. Certain areas, like Central Park, still get a lot of foot traffic though. In order to avoid many people, I try my best to go in the morning or to scout out some areas that seem to be fairly empty. One thing that I love about shooting on my own in Central Park is that there are a ton of places to choose from and you can definitely find some secluded spots. I came to this bridge that’s near Columbus Circle around 10am on Wednesday and there were just a few people passing by. For the most part, I had the bridge all to myself.
Tip: I’ve found that mornings and weekdays are usually best!
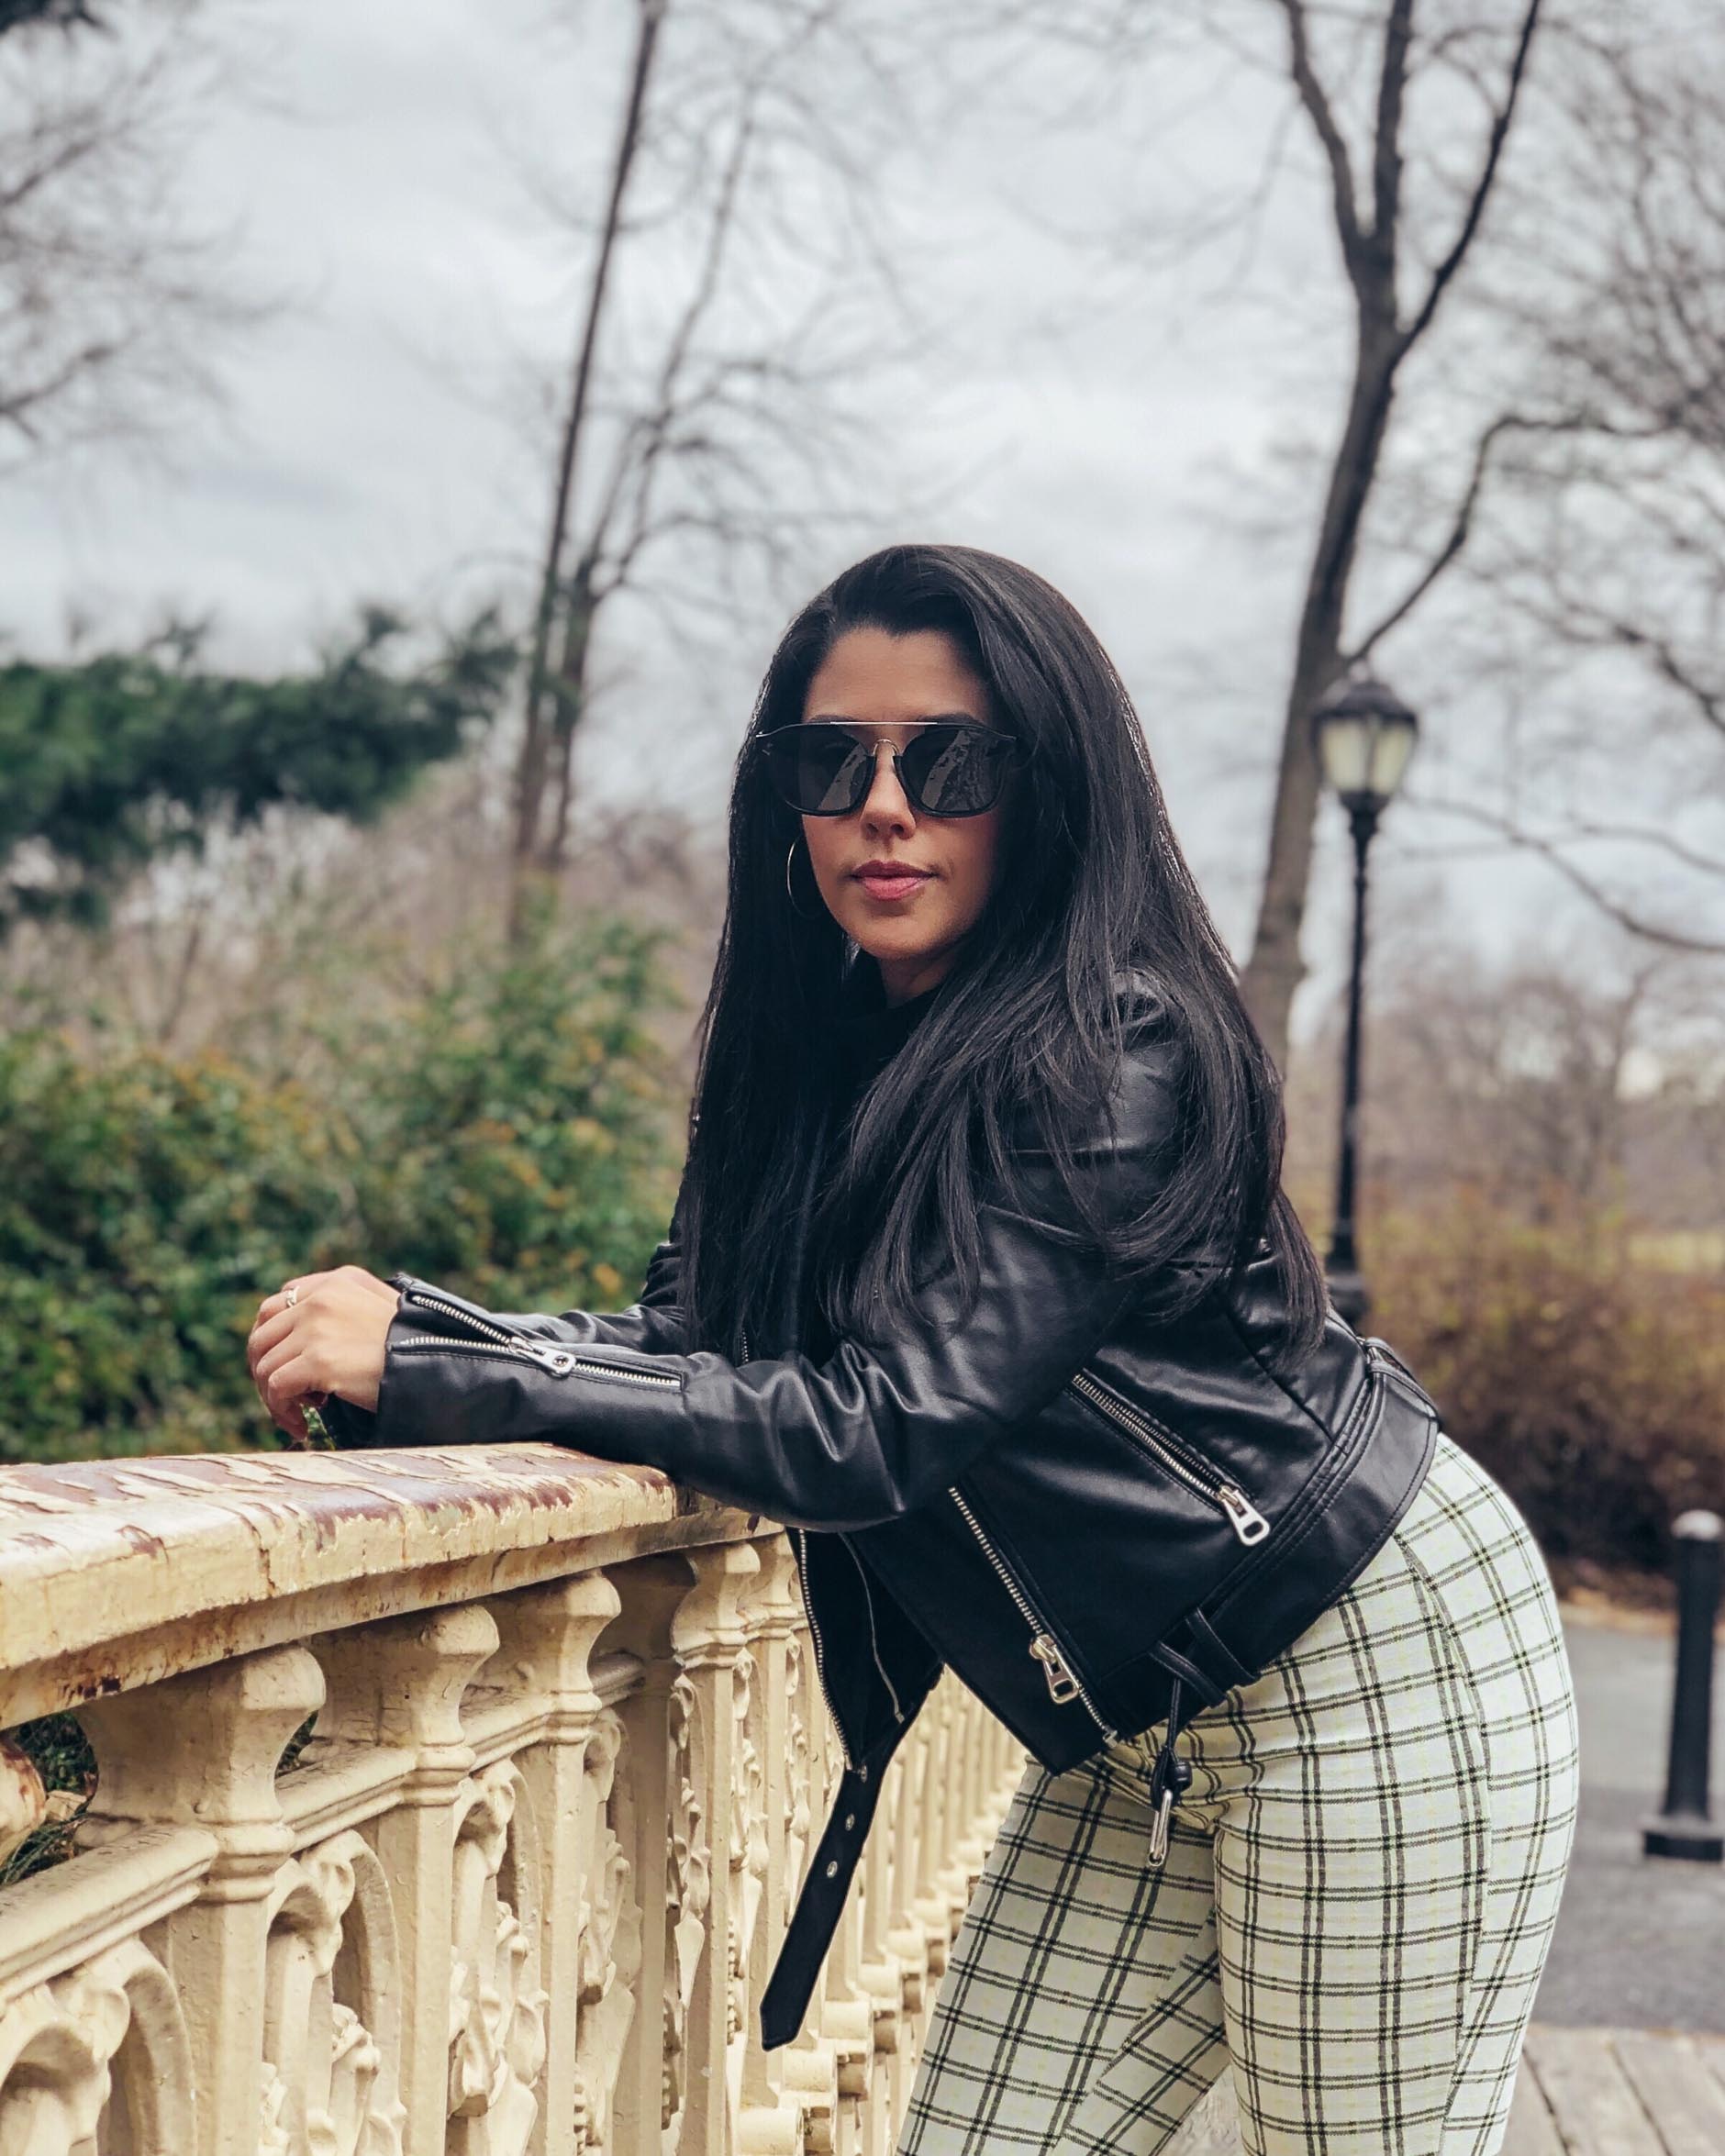
TRY DIFFERENT ANGLES & POSES
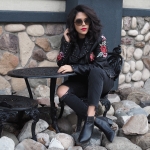
I try to shoot quickly outside because it’s been so cold lately, but on days where it’s a bit warmer (or if I’m shooting in my apartment) I’ll take more time to try out different angles, poses and ideas. Some work and some don’t, but it’s always great to experiment. Sometimes an impromptu photo turns out better than the one I initially envisioned. If there’s a pose that I love and want to capture, I will do it several times to get the shot and then I’ll move on to the next pose.
Tip: Shooting from a lower angle will give the illusion that you are taller. You basically have the camera lower and shoot at an upward angle. I recently found out that so many people thought I was at least 5’5 and I was shocked because I am only 4’11! It’s definitely all about the camera angles.

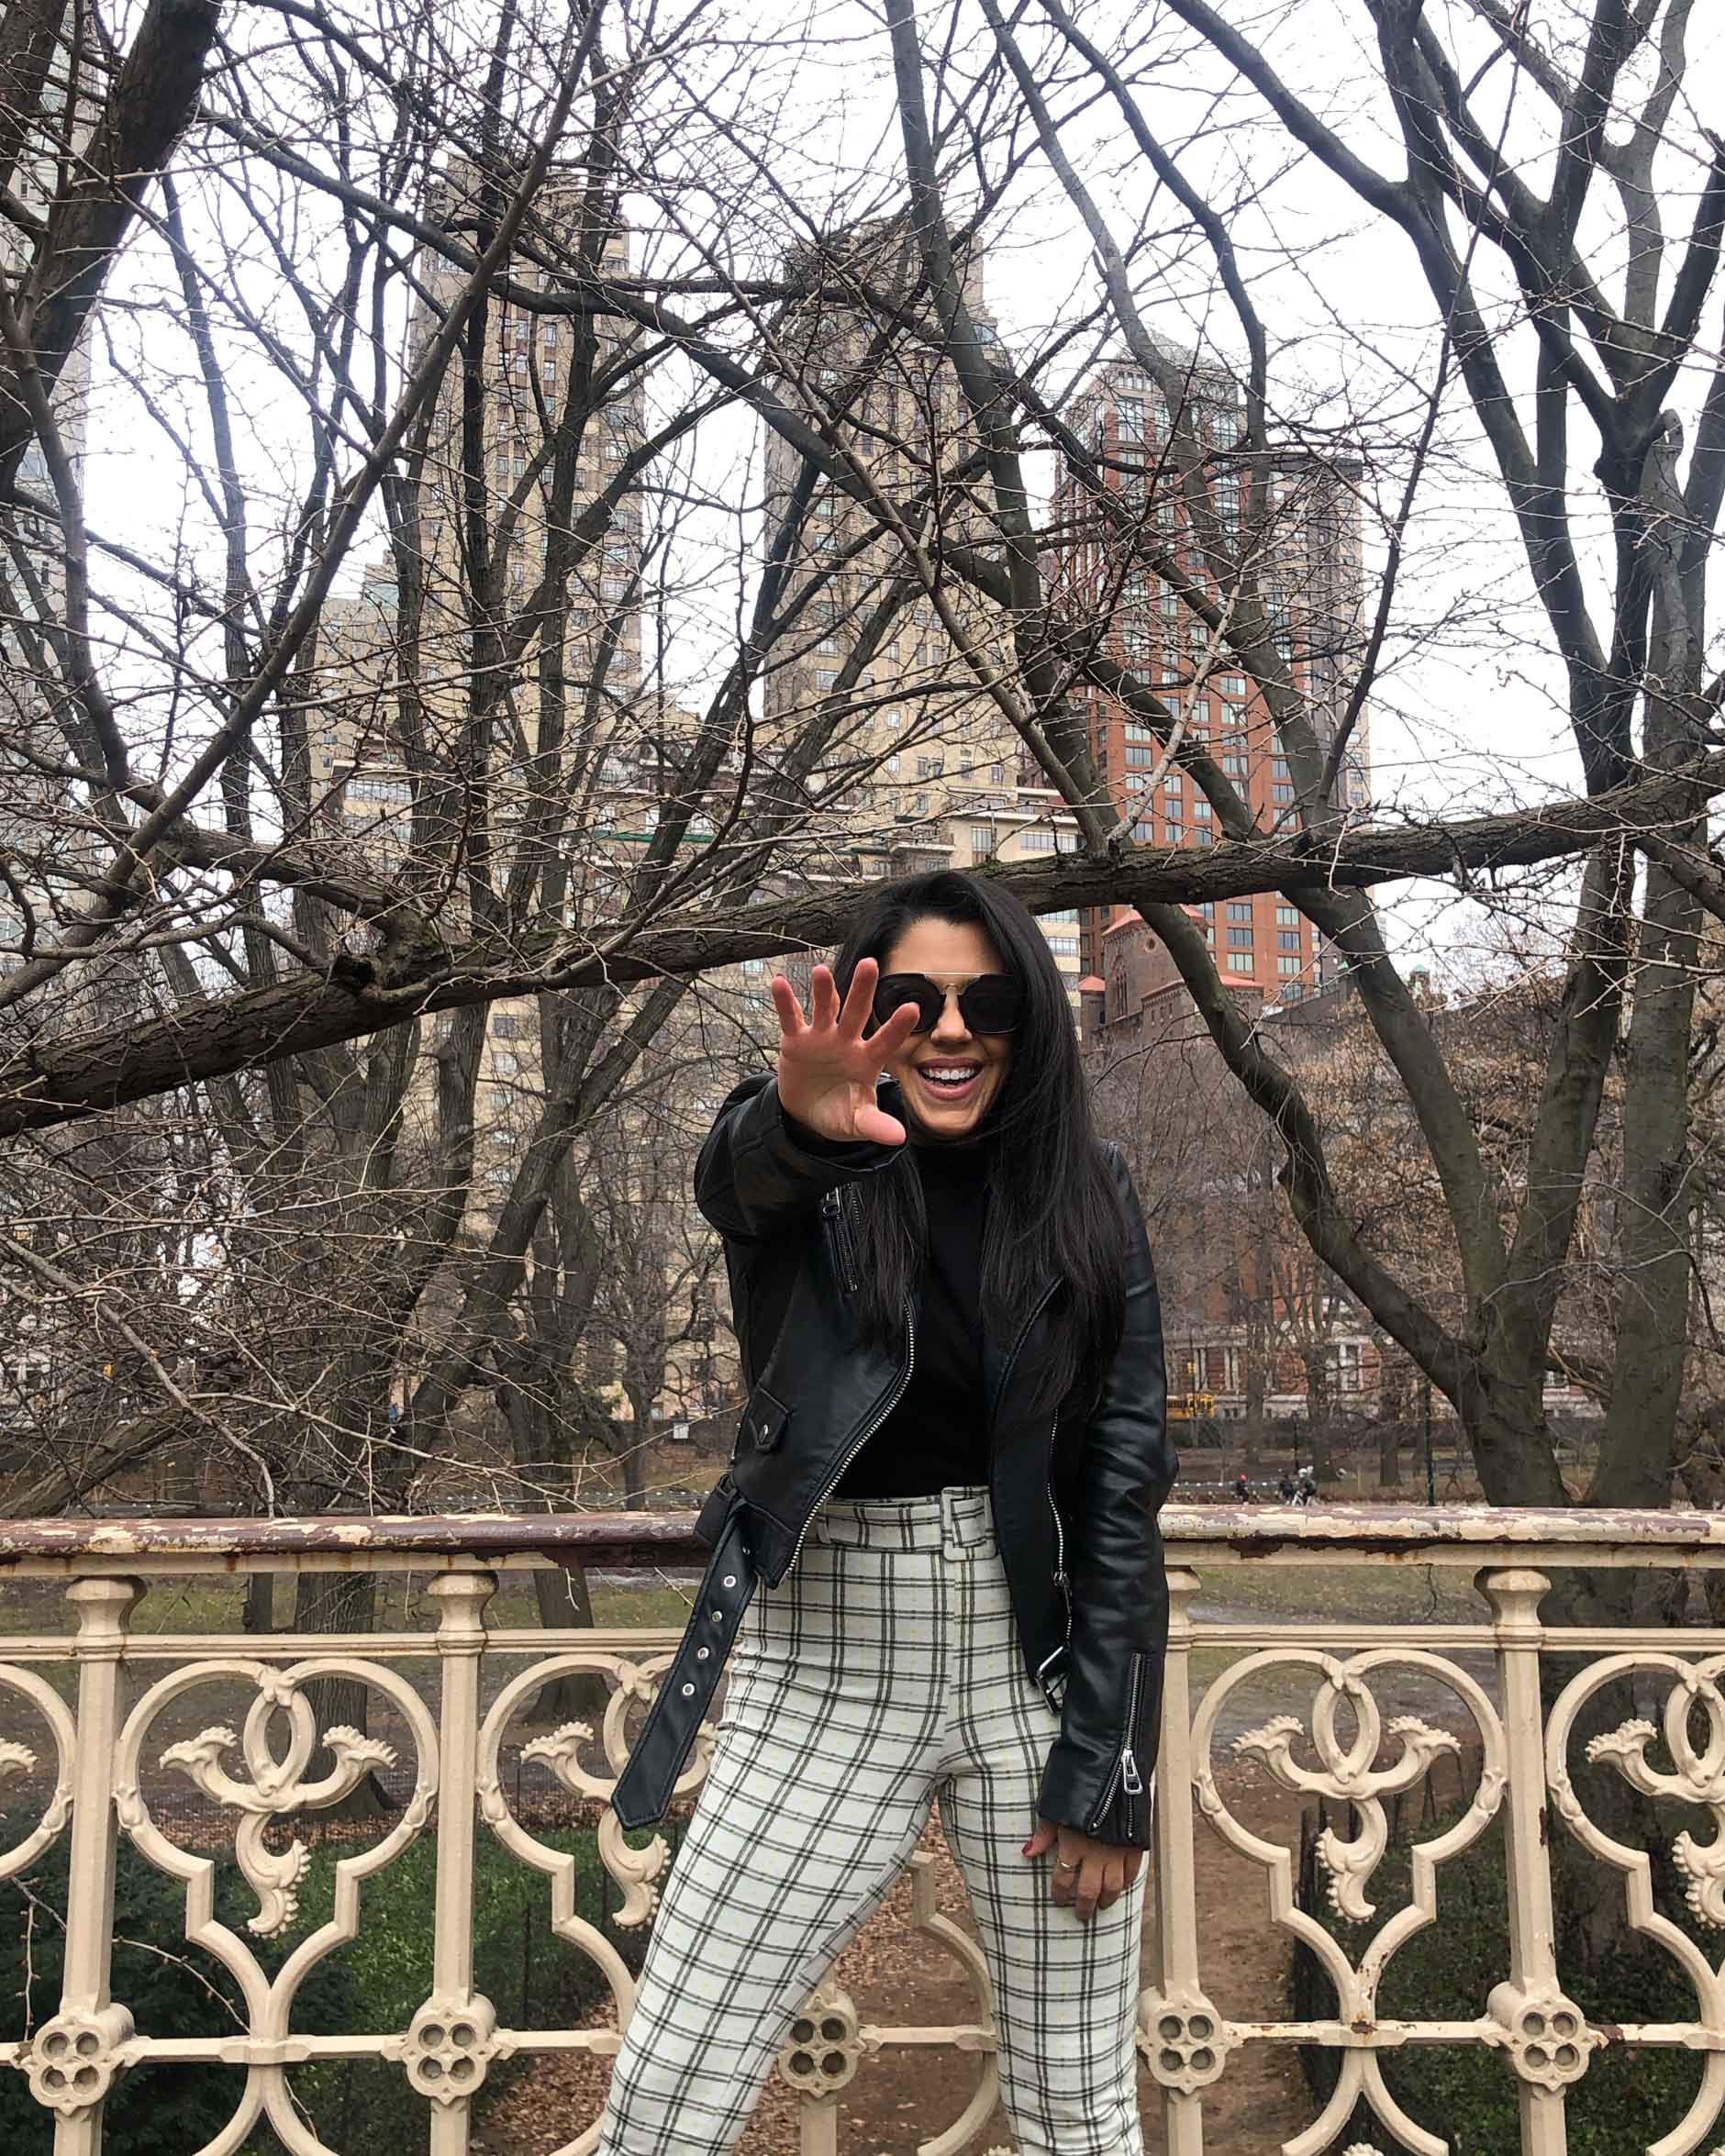
HAVE FUN WITH IT
Don’t take yourself too seriously! After getting the photos that I want I also like to play around a bit too to see what I might get. If you do a 1 second interval between shots you can capture some fun candids by continuously moving around. Some people even like to shoot on live mode because it creates little video clips. You’d need to use a remote for this though because I don’t believe you can shoot live on the self-timer apps.
IGNORE EVERYONE ELSE
I’ve had people ask me how I deal with those uncomfortable glances from strangers who see me with a tripod. It definitely gave me a little anxiety in the beginning, but I am more used to it now. Some people have actually hyped me up. Yesterday a woman said, “You go girl! You got the right idea.” Whether they’re being supportive or making you feel awkward it is important to note that you are never going to see these people again. They do not know who you are and seeing you with your tripod will be a quick 2-minute interaction of the entire day. Also, everyone takes photos! I see it myself all the time. Do not allow a stranger to make you feel uncomfortable and hold you back from getting the shot that you want. If all else fails, just pretend that you’re a tourist. LOL
EDITING IN LIGHTROOM
After I shoot, I always edit my photos in Lightroom. I have it on mobile and on my desktop. There’s a few different presets that I tend to use and will adjust each photo accordingly. It took some time for me to fully understand how to use Lightroom, but I definitely recommend playing around with it because there’s so much that you can do. You’re able to adjust the colors and select the different hues that you want. You can easily brighten up a dark photo or make it look moodier. It’s all personal preference for what you like best. I also use Snapseed sometimes for editing as well.
When you take your own photos, you are completely in control. I do sometimes miss shooting with a photographer, but right now I am not in a position to do so. I’ve learned to rely on myself this past year and it’s shown me what I am capable of. I technically could have been taking my own photos this entire time! I also wish that I had a tripod sooner because I would have been able to use it on all of my solo travels.
I hope that these tips were helpful. They were the first ones that came to mind. If I can think of anything else, I will edit this post and add them. Let me know if you have any questions and I’ll be happy to answer!
– SHOP THE POST –


The shot were you are laughing and kicking is everything. Hahaha
HAHAHA it’s my fave lol
Loved all these tips. I’m going to try changing up the angle, next time I use my tripod. Thanks so much for sharing babe! xoxo
Yes, definitely try different angles. It helps a lot. Happy you found this post helpful! xo